How to replace side steps on Honda Pilot
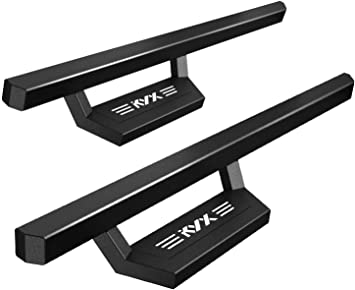
Side steps make it easy to enter and get out of your car, especially if you’ve got a lifted one. We must admit that the specifics of the side steps' installation process depends on the specs of the product you pick and the exact year and model of your truck. The majority of the side steps feature an installation bracket kit included in the package. We have given you more instructions about installing the running board on your car as well.
Step 1 - First of all start with the front wheel (driver’s side), there are 2 threaded holes in the rocker panel area of your car. Make sure not to overtighten the bolts at this moment.
Step 2 - Now inspect the rocker area of the car by moving to the centre of your vehicle. You will get there next pair of holes that you need to mount the next bracket to.
Step 3 - After that, move to the rear of the vehicle. You will see there is a single hole for the new bracket in the frame. It is to mount the rear mounting bracket by means of a wire nut included in the kit. Don't try to tighten this bolt as well.
Step 4 - Now it’s time to mount the running board to your car on the driver’s side. Take it and place it on the brackets, remove the strip from the side steps if there is any. Now attach the side steps to the brackets and slide bolts from the kit into the side.
Step 5 - Moreover, the step bar needs to be aligned and when it is aligned, all the hardware needs to be tightened.
Step 6 - Repeat steps 1-5 for the passenger’s side. And this is how you can attach the sidebar to your car perfectly.

