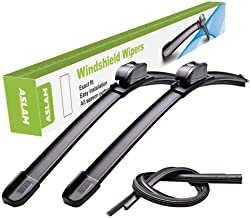
How to replace wiper blades on Ford Explorer

Your wiper blades deal with rain, snow, heat, mud, dust, leaves, and car wash wax, all so you can have a clean, clear view of the road. So you need a new set of wiper blade setup on your car! Then after buying these wiper blades you can follow these steps for your wiper blades instalment perfectly.
1st step: First you have to start your vehicle but the engine should be off and turn on the wipers.
2nd step: Turn the ignition off when the blades are vertical on the windshield so that they’re both accessible by you. Your work will be with the wiper arm which is actually made of metal.
3rd step: And after then carefully pull the wiper arms away from the windshield. When you pull far enough, they will lock into the service position, so you don’t have to hold them. If your wiper is not working automatically into the service position then you have to make it manually.
4th step: You have to start your wiper blade joining from the driver side. And turn the blade at an angle from the wiper arm.
5th step: In this stage give the pressure on the blade’s lock pin/tab on the bottom of the arm to release the wiper blade. Then slide the blade out to remove it from the arm.
6th step: And now attach the new wiper blades in the socket of your blade place by sliding it through the wiper arm’s channel. Give pressure on it smoothly. When you hear the tab click, it’s installed.
7th step: Here again give the pressure on the blade’s lock pin on the bottom of the arm to release the wiper blade. After the slide, the blade comes out to remove it from the arm.


