How to replace tie rod ends on Toyota 4Runner
If your tie rod ends go bad normally. You have to change your tie rod ends very early. Replacing them at home is simple. As you are driving while heading home from work, you notice your car pulling, wandering in the opposite direction, and experiencing difficulties with steering. Then you need to change it so here you can follow the easy process for changing it properly.
Step 1 - Lift the front of the truck by placing a jack under the front frame. Then lift the truck until the wheel is suitably suspended above the ground. Place jack stands underneath the frame, and lower the truck onto them. Finish unbolting the wheel and remove it from the truck.
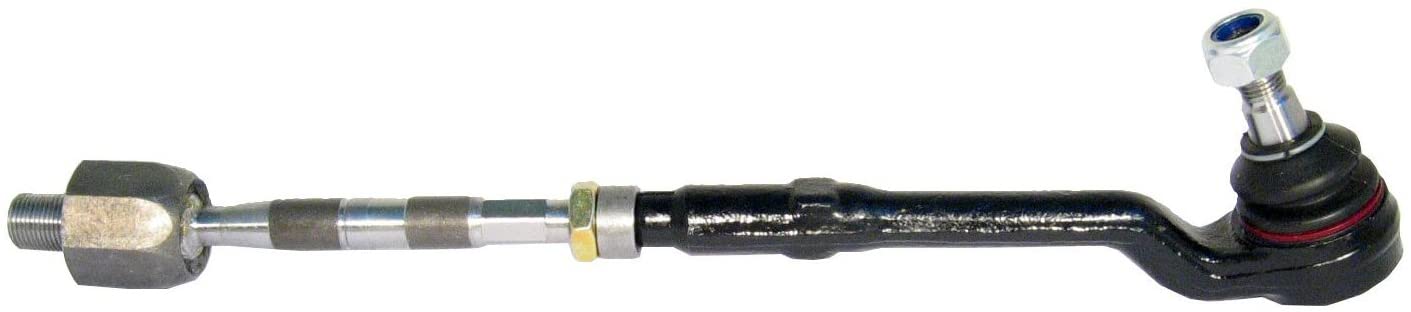
Step 2 - Remove the cotter pin and nut from the end of the tie rod. Use a hammer or small mallet to hit the steering knuckle until it pops out. Alternatively, use a pickle fork or a compact puller tool to separate the two parts.
Step 3 - Before removing the tie-rod end you have to measure the exposed amount of thread and write it down. You'll need this distance later when installing a new tie-rod end. Hold the tie-rod still using a 15mm wrench. There's an indentation for the wrench on the side of the rod closest to the frame. Use a 21mm wrench on the tie-rod adjustment nut. Unscrew it until the tie-rod end comes off.
Step 4 - Screw the new tie rod end into place. This will make sure your alignment is roughly the same. Install the castle nut and cotter pin. Re-install the wheel and lower the truck.
Step 5 - Take the truck to shop for alignment or do it yourself at home. A full alignment is probably a good idea, but if that's not an option, there's a guide for aligning the truck's toe below. After getting an alignment, drive your car on regular roads and on the highway to see if the replacement has made a difference in your steering. This is how you can change your truck tie rod ends easily.

