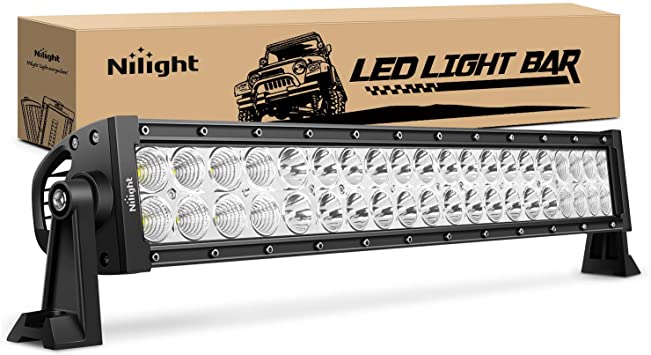
How to install light bars on Toyota 4Runner

Sometimes it is not easy to drive your car with your headlight and other lights. For these reasons and many more reasons, light bars are important for your desired car. A light bar can give you more lights when you're driving. So if you need a lower side light bar in your car you can go for it and follow the installation process step by step.
Step 1: Locate two bolts in the lower bumper location that can be easily accessed after you open up the hood. Use a 21mm wrench to remove the bolts.
Step 2: The screw will be exposed. Take a hammer and pound on the screw to create a small gap between the two metal plates.
Step 3: Once you get that slight gap between the two metal plates, take one of the pieces of the mounting bracket and slip it in between the plates and on top of the screw.
Step 4: Repeat the bracket mounting on the other side. Try to make it strong there.
Step 5: You’ll now need to mount the LED light bar onto the brackets. You can take this time to adjust the mounting brackets to make sure that everything is levelled on both sides. Among these process, you can easily set up your light bar on your car.


